Controlling the scene selector with a virtual MIDI bus
- Live Versions: All
- Operating System: All
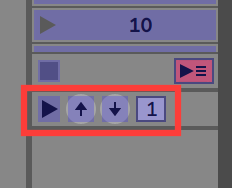
When you switch MIDI map mode on, a number of hidden functions appear on the Master track in Session view.

From left to right these are:
- Scene Launch
- Scene Up
- Scene Down
- Scene Select
These can be assigned to a MIDI controller so you can navigate using your controller through the session view. Another application could be using a virtual MIDI network and dummy MIDI clips which perform automated actions when that clip is launched. Some possible applications of this:
- Advance the scene selector in increments
- Move the scene selector to a specific scene number
- Launch the selected scene
- Select or launch a scene after a pre-defined amount of time
- Launch backing tracks using a MIDI foot-switch
Set up
- Enable the IAC bus on Mac or equivalent virtual MIDI bus on Windows. See our guide here: Using Virtual MIDI buses.
- In the Link/MIDI tab of Live's Preferences enable Track for the output port and Remote for the input port of the virtual MIDI bus as shown:

- Create a blank MIDI track and set the MIDI to to your chosen MIDI bus port:

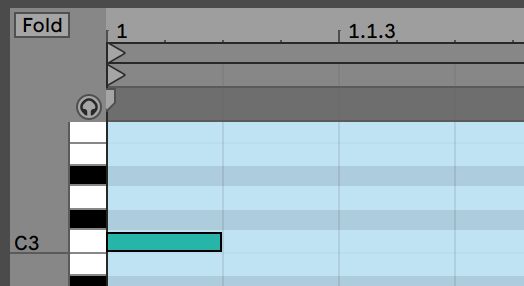
- Create a new MIDI clip and add a note (eg. C3).

- Loop the clip and press play.
- Enable MIDI map mode.
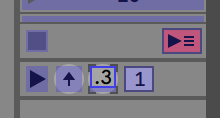
- Select your desired parameter (e.g. Scene Down) and wait for your chosen note to get mapped to it. Then exit MIDI map mode.
Note: After successfully mapping this, you may want to turn loop off otherwise it will keep performing the same action over and over again - unless this is intended behavior.

Using this in a set
When you launch the dummy MIDI clip, it will advance the scene selector by one scene. The mapped MIDI note can be placed anywhere within your MIDI clip, depending on when you want that action to occur.
For example, you could create a MIDI clip which is as long as the longest clip in the current scene. MIDI note C3 can be mapped to Scene Down and C#3 can be mapped to Scene Launch. C3 can be placed at the beginning of the MIDI clip and C#3 should be placed right before the end. When that scene is launched, the next scene will be selected, and when the clip ends the next scene will be played (make sure to set a Global Launch Quantization amount).

Another simple application might be mapping the Scene Launch button to a MIDI controller (or foot-switch). Then map the Scene Down button to a note in a dummy MIDI clip. Every time a new scene is launched, the next one is selected. Then you only need to ever press one button (Scene Launch on your MIDI controller) when you want to start the next scene. Useful for launching backing tracks handsfree (eg. while playing guitar).
Going deeper
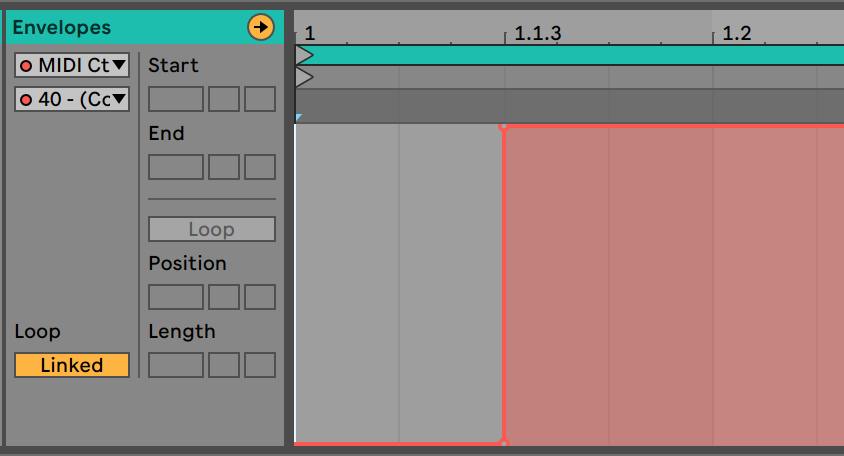
It's not just MIDI notes which can be used for mapping, but also CC numbers. Select the required CC number in the clip envelope chooser (eg. 40), then leave the beginning breakpoint at 0 and add a breakpoint at 127 at the point where you want the MIDI message to be sent:

Then you can map the CC number in the same way as shown above in Set Up.
Of course you're not limited to the scene navigation buttons, you map any MIDI mappable function in the Live interface.