Capture in Note
-
Note Version: All
In Note, MIDI notes are recorded to clips via Capture. You can play and capture your performances in the Instrument View by pressing the Capture button after playing a melodic or rhythmic idea.
Clips contain your captured loops and are the building blocks of your tracks. They can be created in two modes: Fixed Length or Free Length. Automation and Note Repeat are available in both modes. Once notes are captured, editing options include Operations (Nudge or Transpose), Quantization, and Velocity. For in-depth information on all of Note's features, visit the Note Manual.
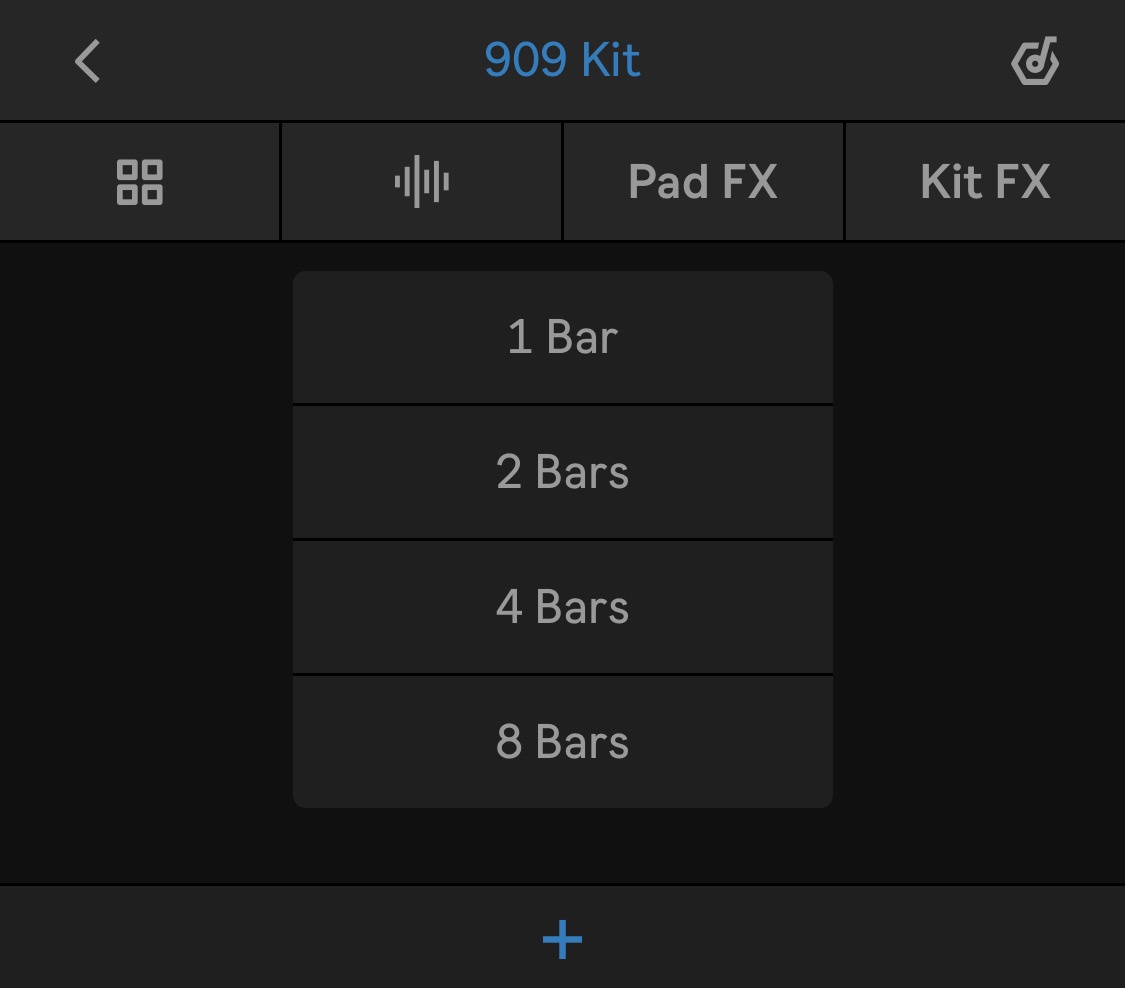
Fixed Length Capture
Fixed Length Capture is used to create clips with a predetermined length of 1, 2, 4, or 8 bars. After adding a clip using the + button, notes will be contained within the selected clip length.
Free Length Capture
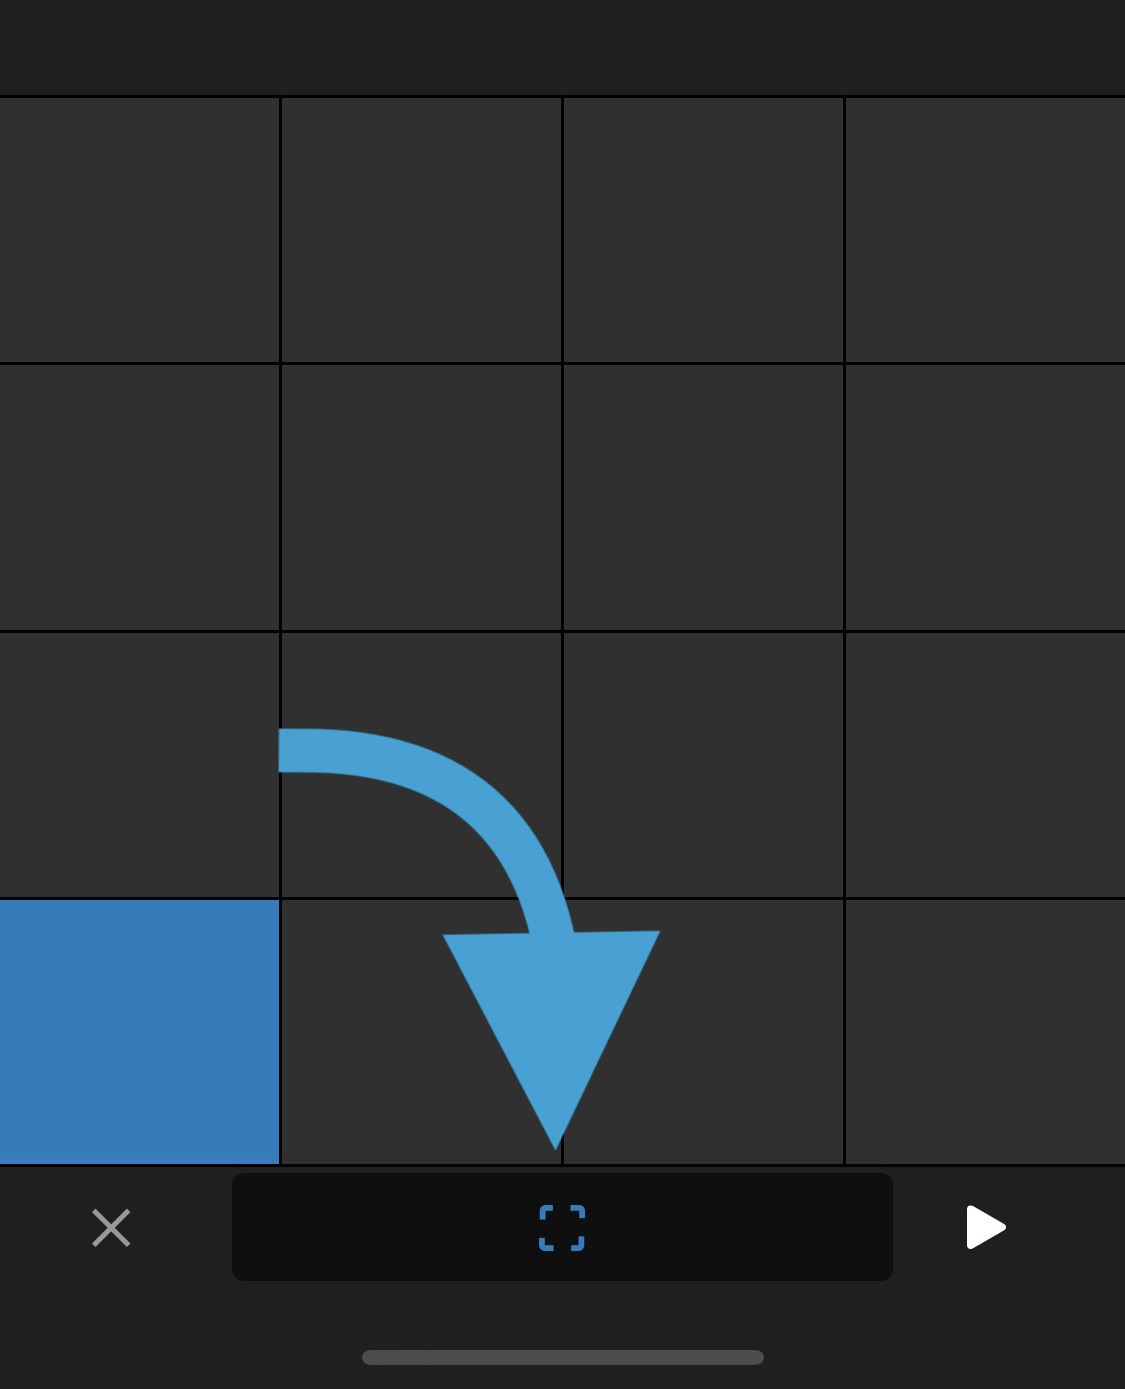
You can also start playing pads without adding a clip, and then capture your performance. If Note’s transport is stopped, you can play up to eight bars, then tap the Capture button to create a clip. When capturing a clip for the first time, if the Transport is stopped, the Set’s tempo will be set automatically based on your performance.
Automation
You can capture changes to the device and audio effect parameters made while a clip is playing as Automation, so the changes will play back automatically when the clip is played.
Note’s transport must be running to capture automation. To automate a parameter, capture notes in a Clip and press Play. As you move the parameter's knob, a dotted line in the Clip area will appear to represent the automation curve.
Once the preferred automation curve is represented, tap Add.
Captured automation will appear as a solid line in the Clip Mini Preview. Parameters with automation display a dot next to the corresponding knob. When transport is running, you will also see the automation changes reflected in the parameter’s automatic knob adjustments.
You can continue to change parameters even after automation has been captured. When adjusting parameters again, new dotted lines will appear in the automation; tap Add to update the captured automation to save the new changes. If the edit is not desired, press x to keep the previous curve. For more information on using automation in Note, see the Note Manual.
Note Repeat
Melodic pitches and rhythmic samples can be played as single notes, or set to repeat as long as a pad is pressed. Note Repeat, located in the bar to the left of the pad grid, can be enabled with repeated note durations of 1/4 note, 1/4 note triplet, 1/8, 1/8T, 1/16, 1/16T, 1/32, or 1/32T. Note Repeat works in both Fixed Length and Free Length Capture modes.
Editing Notes
Once notes have been captured, you can edit certain qualities of the notes using three editing tabs: Operations, Quantization, and Velocity. To open these tabs, tap in the Clip Mini Preview to open the Clip View, then drag in Clip View to select the notes you wish to change.
Use Operations to edit the placement and tuning of your selected notes, Quantization to adjust timing to the beat, and Velocity to adjust the velocity (volume relative to other notes) of the note. For more details on how to use Note Operations, see the Note Manual.